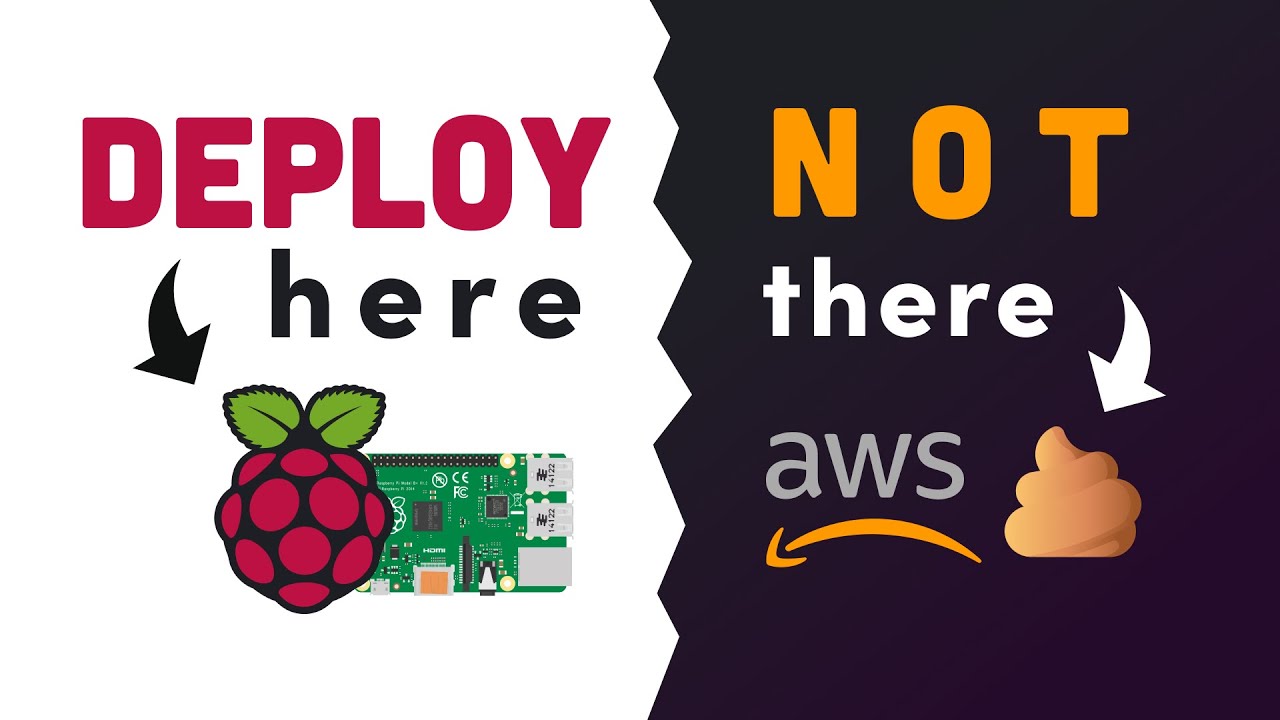
Creating a Website on Raspberry Pi at home
Hosting a full website from a Raspberry Pi on a LAMP stack
 Siddh Mistry
July 18, 2021
Updated July 24, 2026
3 min read
Siddh Mistry
July 18, 2021
Updated July 24, 2026
3 min read

Overview
This is perfect for setting up your first website and learning not only administering a wordpress site, but learning Linux. You will need a Raspberry Pi, a couple hours, and a computer to download the image on. The Raspberry Pi (RPI) is a perfect device for learning these things.
Also check out the official projects site from RaspberryPi
Source: https://projects.raspberrypi.org/en/projects/lamp-web-server-with-wordpress
Downloading the RPI Imager
Download the Imager for your operating system. This supports all three OS’s (Windows, Mac, and Linux).
https://www.raspberrypi.org/downloads/
- Run and Install the Imager
- Select Raspberry Pi OS (other) -> Raspberry Pi OS Lite (32-bit)
- Note: This is the one with NO Desktop Environment
- Insert the SD Card into your Computer
- Click Write
Install Dependencies
1 | sudo apt-get install apache2 php mariadb-server php-mysql -y |
Install Wordpress
1 | cd /var/www/html/ |
Setup WordPress Database
1 | sudo mysql_secure_installation |
- You will be asked Enter current password for root (enter for none): — press Enter.
- Type in Y and press Enter to Set root password?.
- Type in a password at the New password: prompt, and press Enter. Important: remember this root password, as you will need it later to set up WordPress.
- Type in Y to Remove anonymous users.
- Type in Y to Disallow root login remotely.
- Type in Y to Remove test database and access to it.
- Type in Y to Reload privilege tables now.
When complete, you will see the message All done! and Thanks for using MariaDB!.
Login to MySQL with sudo mysql -uroot -p and enter the password you set above.
You will see the terminal prompt change and you can enter the following:
1 | create database wordpress; |
IMPORTANT: Exit SQL Prompt with Ctrl + D and change YOURPASSWORD above to your password!
Reboot with sudo reboot
Wordpress Configuration
Remote Access can be done with SSH from any system. Find your Raspberry Pi IP with ip a. This IP is only your Local IP and not accessible from the outside world.
Initial setup can be done from any computer in the same network as the RPI. Type your pi ip address from above into your browsers address bar.
Example: https://127.0.0.1
Remote Login after initial setup append /wp-admin to the address
Example: https://127.0.0.1/wp-admin
Recommended Server settings
Finally we need to make some quality of life improvements so you don’t have weird looking addresses. This is called “Friendly Permalinks”.
In the WP Admin Portal:
- Go to Setting, then Permalinks
- Select the Post name option and click Save Changes
From SSH or Terminal on the RPI you need to enter the following:
1 | sudo a2enmod rewrite |
000-default.conf edits (Add this midway in the file)
1 | <Directory "/var/www/html"> |
Save the File by press Ctrl + O and Exit with Ctrl + X
Now restart Apache Web with sudo service apache2 restart
Mr. Blogger
Podcast
Social Media
- Instagram - https://instagram.com/mistrysiddh
- Github - https://guthub.com/mrfoxie
- Linkedin - https://www.linkedin.com/in/SiddhMistry/
- Whatsapp - Message Me
- Discord - https://discord.gg/bPrBSbQ2W4
Donation
- Paypal - https://paypal.me/mistrysiddh
- Patreon - https://www.patreon.com/siddhmistry
- Buymeacoffee - https://www.buymeacoffee.com/mistrysiddh
Play Store

Related Documents
Other specifications filed under the same module.
 DWG-99667
MOD-10 · Raspberry Pi
DWG-99667
MOD-10 · Raspberry Pi
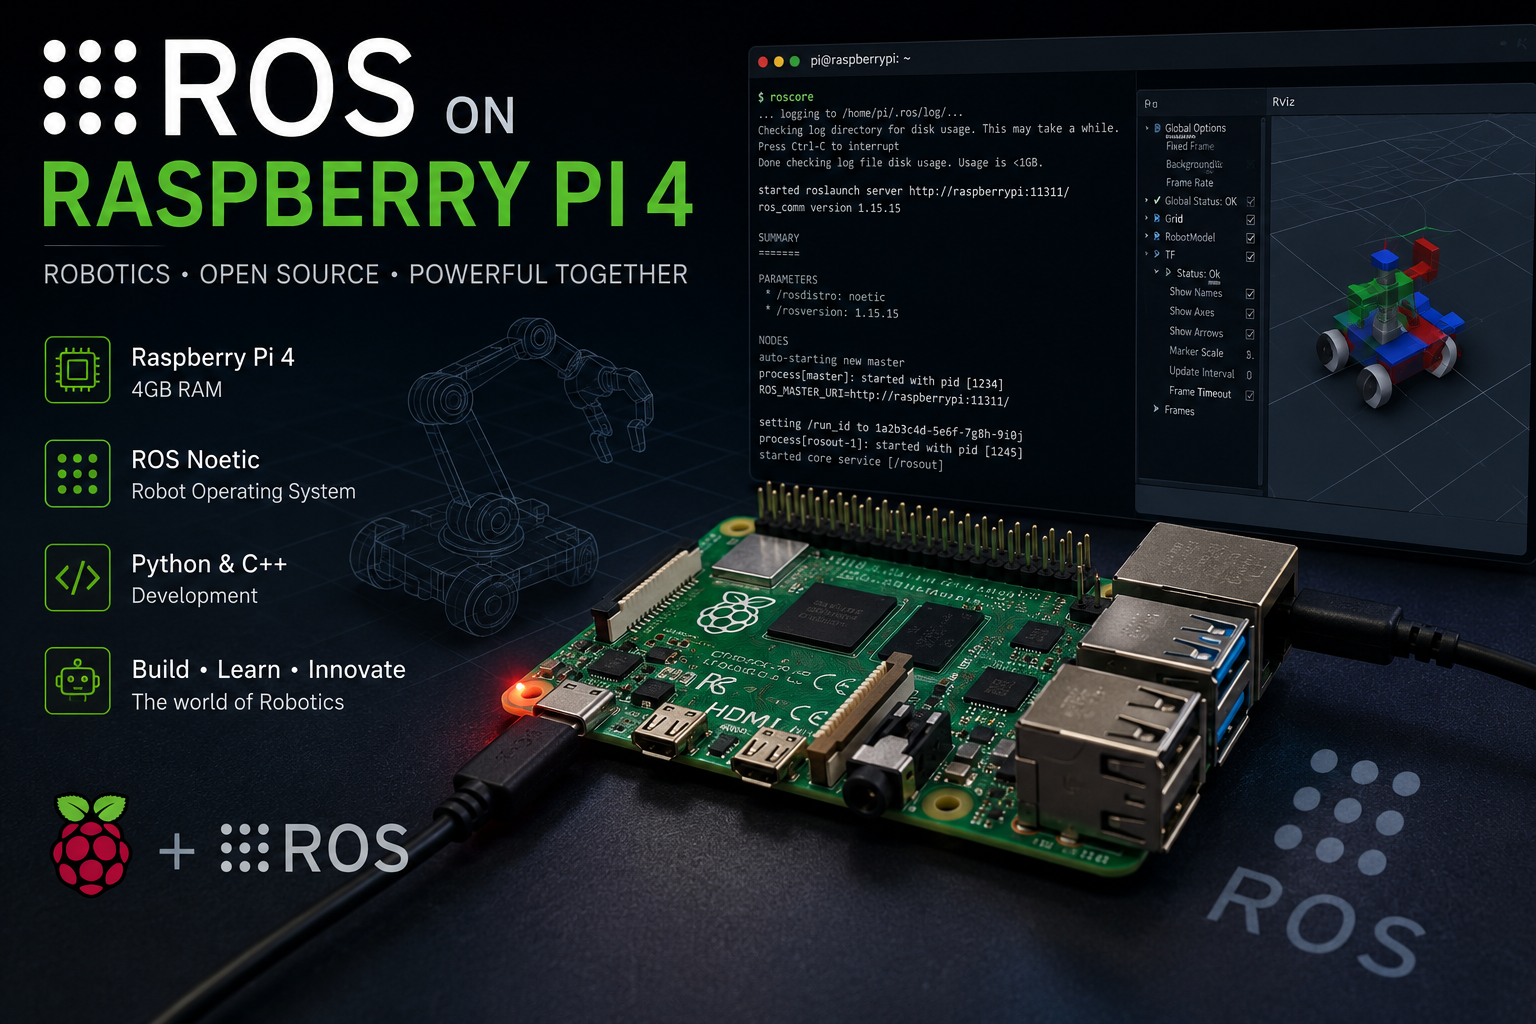
ROS on Raspberry PI 4
Overview We will be install ROS on Raspberry PI 4 without Ubuntu. In this tutorial we we will be using docker insted of using ubuntu or any…
Siddh Mistry
·
Oct 17, 2022
 DWG-60094
MOD-10 · Raspberry Pi
DWG-60094
MOD-10 · Raspberry Pi
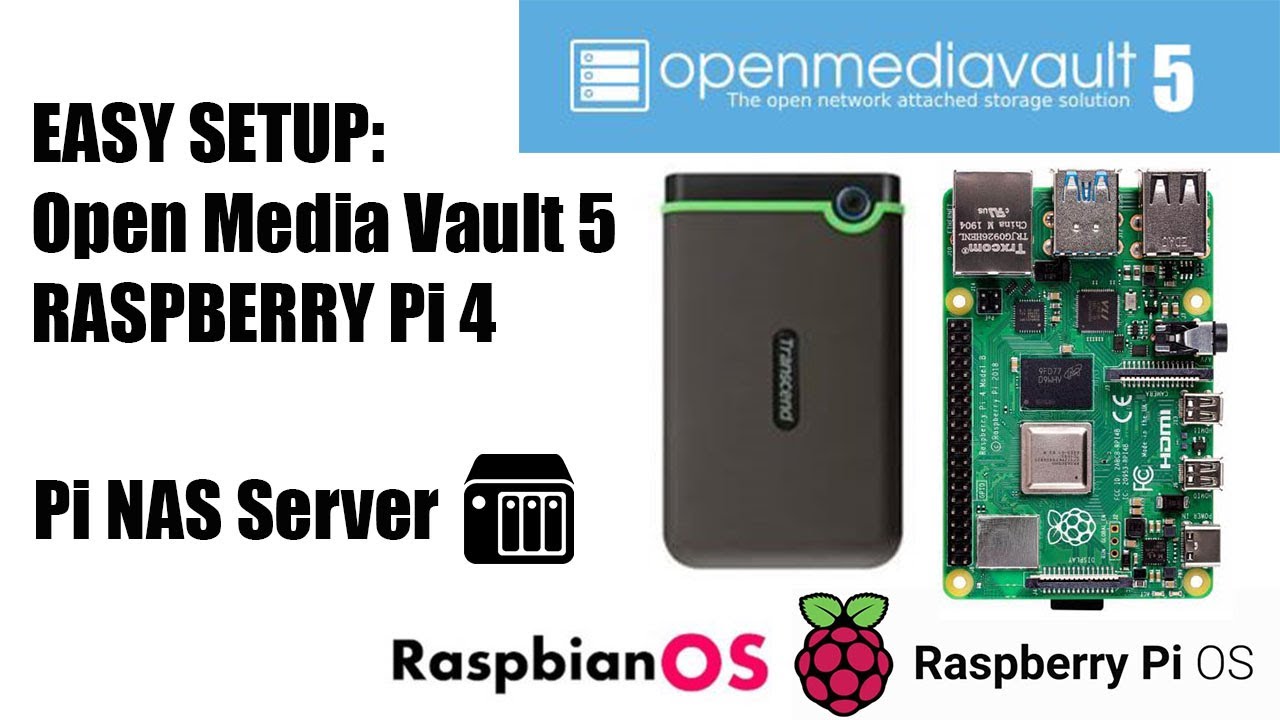
Raspberry Pi NAS System
Use your Raspberry Pi as NAS server at home or on a drive wherever you go. Simple steps to install and easy to set up everything
Siddh Mistry
·
Feb 11, 2022
Field Notes & Comments
Session-local discussion — comments here are not persisted to a server in this build.
Loading discussion module…