Setting Up WireGuard VPN in 15 Minutes
The fastest, leanest VPN you can self-host
 Siddh Mistry
November 11, 2026
Updated November 11, 2026
4 min read
Why WireGuard over OpenVPN
If you’ve set up OpenVPN before, you know the pain: certificate authorities, .ovpn config bundles, sluggish throughput. WireGuard is a different approach entirely — modern cryptography, a tiny codebase (easy to audit, hard to hide bugs in), and it’s fast enough that you’ll barely notice it’s running. It’s also baked into the Linux kernel since 5.6, so there’s no sketchy third-party kernel module to install.
Here’s the whole setup — one server, one client — in about 15 minutes.
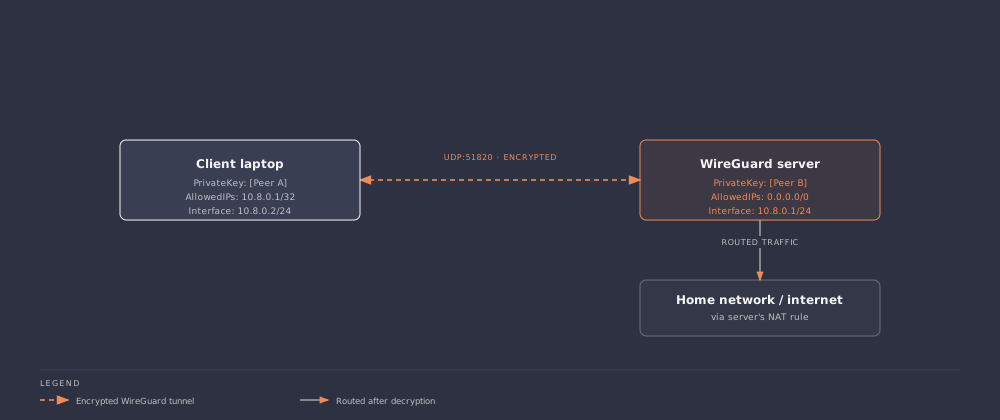
Step 1: Install WireGuard on the server
1 | sudo apt update |
Step 2: Generate keys for the server
1 | cd /etc/wireguard |
umask 077 matters — it makes sure the private key file isn’t readable by other users on the box.
Step 3: Generate keys for the client
Do this on the client machine (or just run it again on the server and copy the keys over):
1 | wg genkey | tee client_private.key | wg pubkey > client_public.key |
Step 4: Write the server config
1 | # /etc/wireguard/wg0.conf |
Replace eth0 with whatever your server’s actual internet-facing interface is — check with ip a if you’re not sure.
Step 5: Write the client config
1 | # client.conf |
Two settings worth understanding, not just copy-pasting:
AllowedIPs = 0.0.0.0/0routes all client traffic through the tunnel — full VPN mode. If you only want to reach your home network (not route your general internet traffic through it), narrow this to your LAN range, e.g.192.168.1.0/24.PersistentKeepalive = 25sends a keepalive packet every 25 seconds. Without it, NAT on your router or mobile carrier will silently drop the “connection” (WireGuard is connectionless/UDP) after a period of inactivity, and you won’t notice until you try to use it.
Step 6: Open the port and enable IP forwarding
On the server, allow IP forwarding so it can actually route traffic between the tunnel and the internet:
1 | echo 'net.ipv4.ip_forward=1' | sudo tee -a /etc/sysctl.conf |
Then forward UDP port 51820 to your server in your router’s settings — same place you’d forward any other port.
Step 7: Bring it up
On the server:
1 | sudo wg-quick up wg0 |
On the client (Linux):
1 | sudo wg-quick up ./client.conf |
On iOS/Android/macOS/Windows, just import client.conf into the official WireGuard app — it reads the same format directly, no conversion needed.
Step 8: Verify it’s actually working
1 | sudo wg show |
You should see the peer listed with a recent “latest handshake” timestamp. If that timestamp never updates, the most common culprits are: the port isn’t actually forwarded, a firewall is blocking UDP 51820, or you copied a key wrong somewhere.
Then from the client, confirm your traffic is actually routing through:
1 | curl ifconfig.me |
That should now show your server’s public IP, not your actual location.
Adding a second client
Each new device is just another [Peer] block on the server and a new key pair:
1 | [Peer] |
Restart the interface to pick up the change:
1 | sudo wg-quick down wg0 && sudo wg-quick up wg0 |
That’s it — no certificate authority to manage, no revocation lists, no bloated config bundles. Just key pairs and IP ranges. This is genuinely the fastest “set up my own VPN” path there is right now.
Related Documents
Other specifications filed under the same module.
 DWG-40538
MOD-09 · Self Hosting
Docker Compose for Homelab Beginners
A practical walkthrough of Docker Compose for homelabbers — a reverse proxy, an app, and a database wired together with one YAML file.
Siddh Mistry
·
Nov 11, 2026
 DWG-42175
MOD-09 · Self Hosting
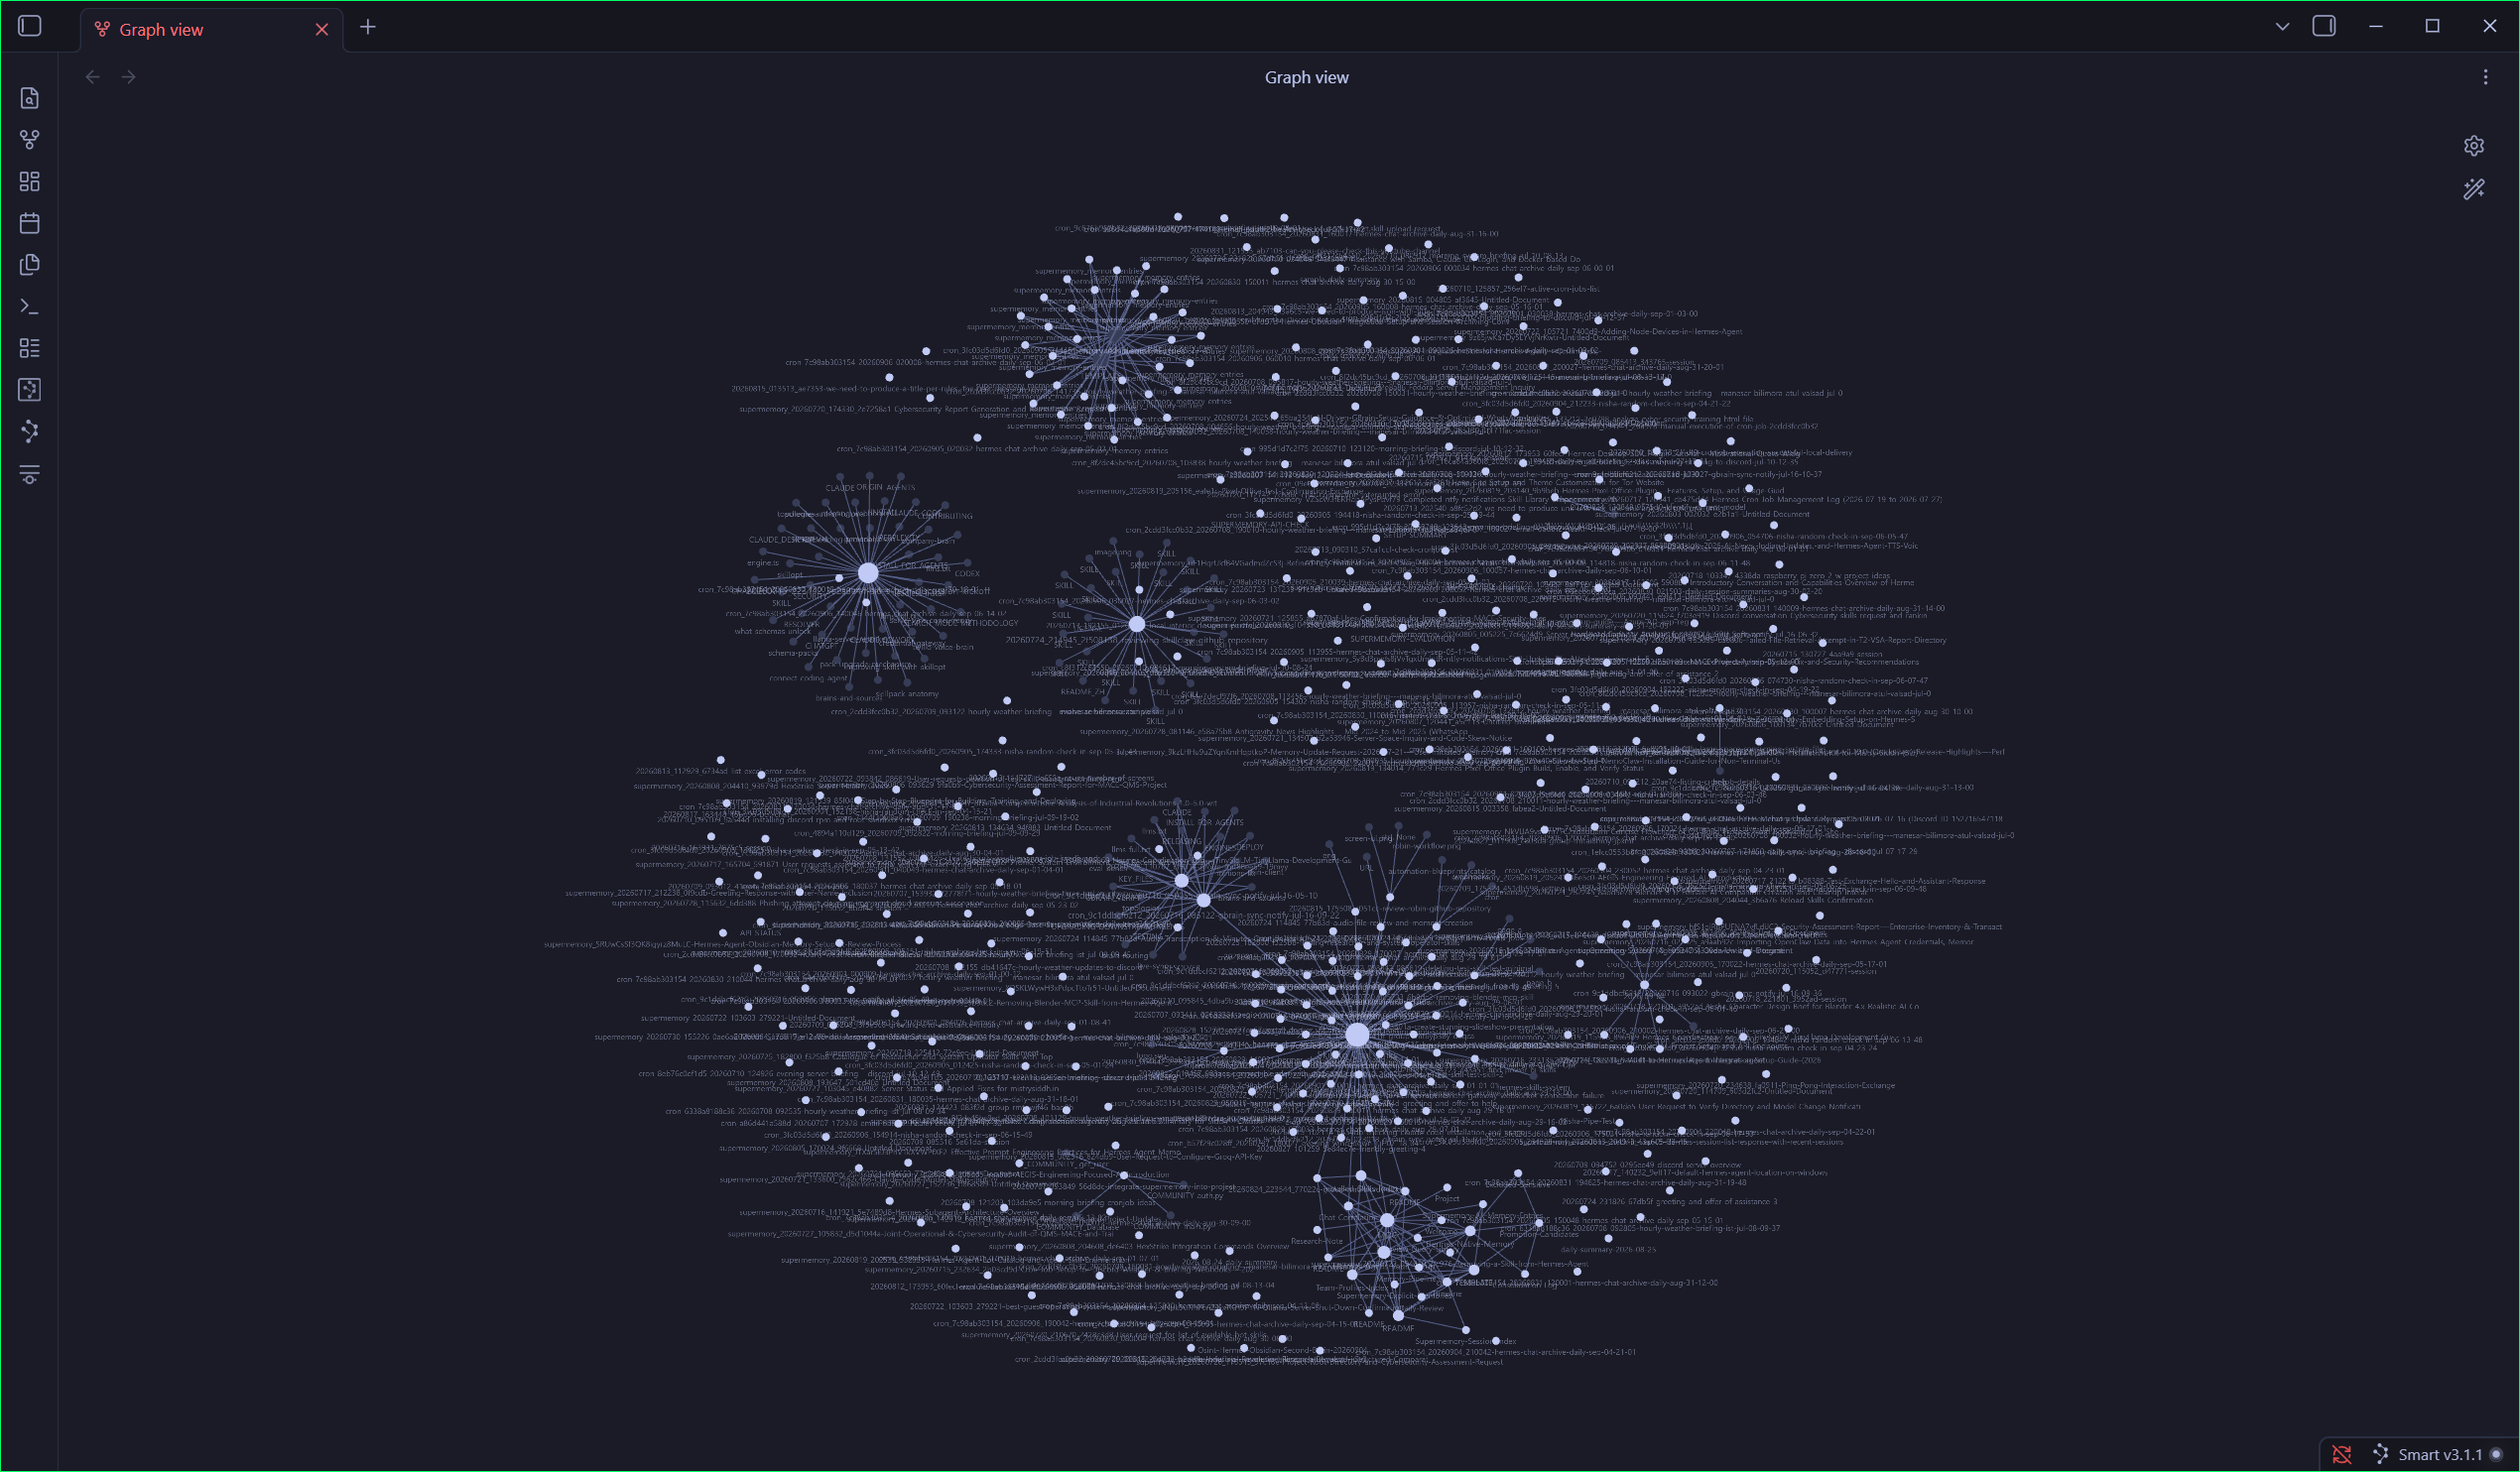
Hermes Brain: An Obsidian Second Brain Your AI Agent Can't Forget
Hermes Brain is a free, MIT-licensed Obsidian vault template for Hermes and OpenClaw agents: automatic session archiving, multi-harness agent skills, local semantic search, secret scrubbing, and human-reviewed memory promotion.
Siddh Mistry
·
Oct 30, 2026
 DWG-04592
MOD-09 · Self Hosting
I Built My Own Self-Hosted AI Assistant (No OpenAI Subscription Needed)
A practical walkthrough of building a self-hosted AI assistant using OpenClaw and Hermes — no cloud subscriptions, no vendor lock-in, full control over your data.
Siddh Mistry
·
Sep 06, 2026
Field Notes & Comments
Session-local discussion — comments here are not persisted to a server in this build.
Loading discussion module…